Photography is a beautiful discipline. Mastering the art means getting intimately familiar with the different types of lighting that photographers deal with on a daily basis. The more you know about your light source and the types of lighting in photography, the better your photos will become.
This page will run through the different types of light you’re likely to encounter on your photography journey. From soft light, to hard light and everything in between; we’ve got you covered.
Types of Light in Photography
The list below explains some of the most common lighting types and how to work with them.
Front Lighting

This type of light comes from in front of your subject. When taking photos of people, front lighting can illuminate their face and bring out their best features. Get used to tweaking your exposure settings to make sure your photo doesn’t come out too bright.
This is one of the most common and straightforward approaches to lighting. It’s the one that most of us get to grips with first when starting out with photography. This approach can produce some fantastic images with a little practice.
Backlight

Backlighting describes when the light source is placed behind the subject you’re shooting. When used correctly, backlighting can create a “glowing” effect around the edges of your subject. Smartphone and less premium cameras struggle with this, however.
You’ll need a camera that can handle the white balance and high contrast demands that come with this approach to lighting. The exposure settings on your camera will help you get the shot you need.
Rim Light

This is a type of backlighting that emphasizes the edges of your subject. A thin ‘rim’ of light runs around the edge of the person or thing you’re shooting for a great effect.
When using rim light, your photos will have a less hazy edge. Play with your exposure settings to tweak the visibility of your subject’s features.
Soft Light

Soft light is bright but well-balanced. An image that’s shot with plenty of soft light will have fewer hard lines and sharp shadows. When taking photos of faces, soft lighting will eliminate shadows under the eyes and lighten darker areas of the subject.
Sunlight that shines through clouds is soft, for example. It’s diffused through the clouds, creating a light source that is indirect. Photographers use soft boxes and even translucent windows to achieve this type of lighting.
Diffused Light

Diffused light, like ‘soft light’ above, can be achieved with many different light sources, both natural and artificial. Sunlight passing through clouds is diffused. This type of light is soft and indirect; it won’t cast long shadows or cause sharp, dark lines to emerge in your shots.
Artificial lighting options for this kind of light include professional diffusers, soft boxes and umbrellas. These help photographers achieve the light they need while shooting.
Related
Hard Light

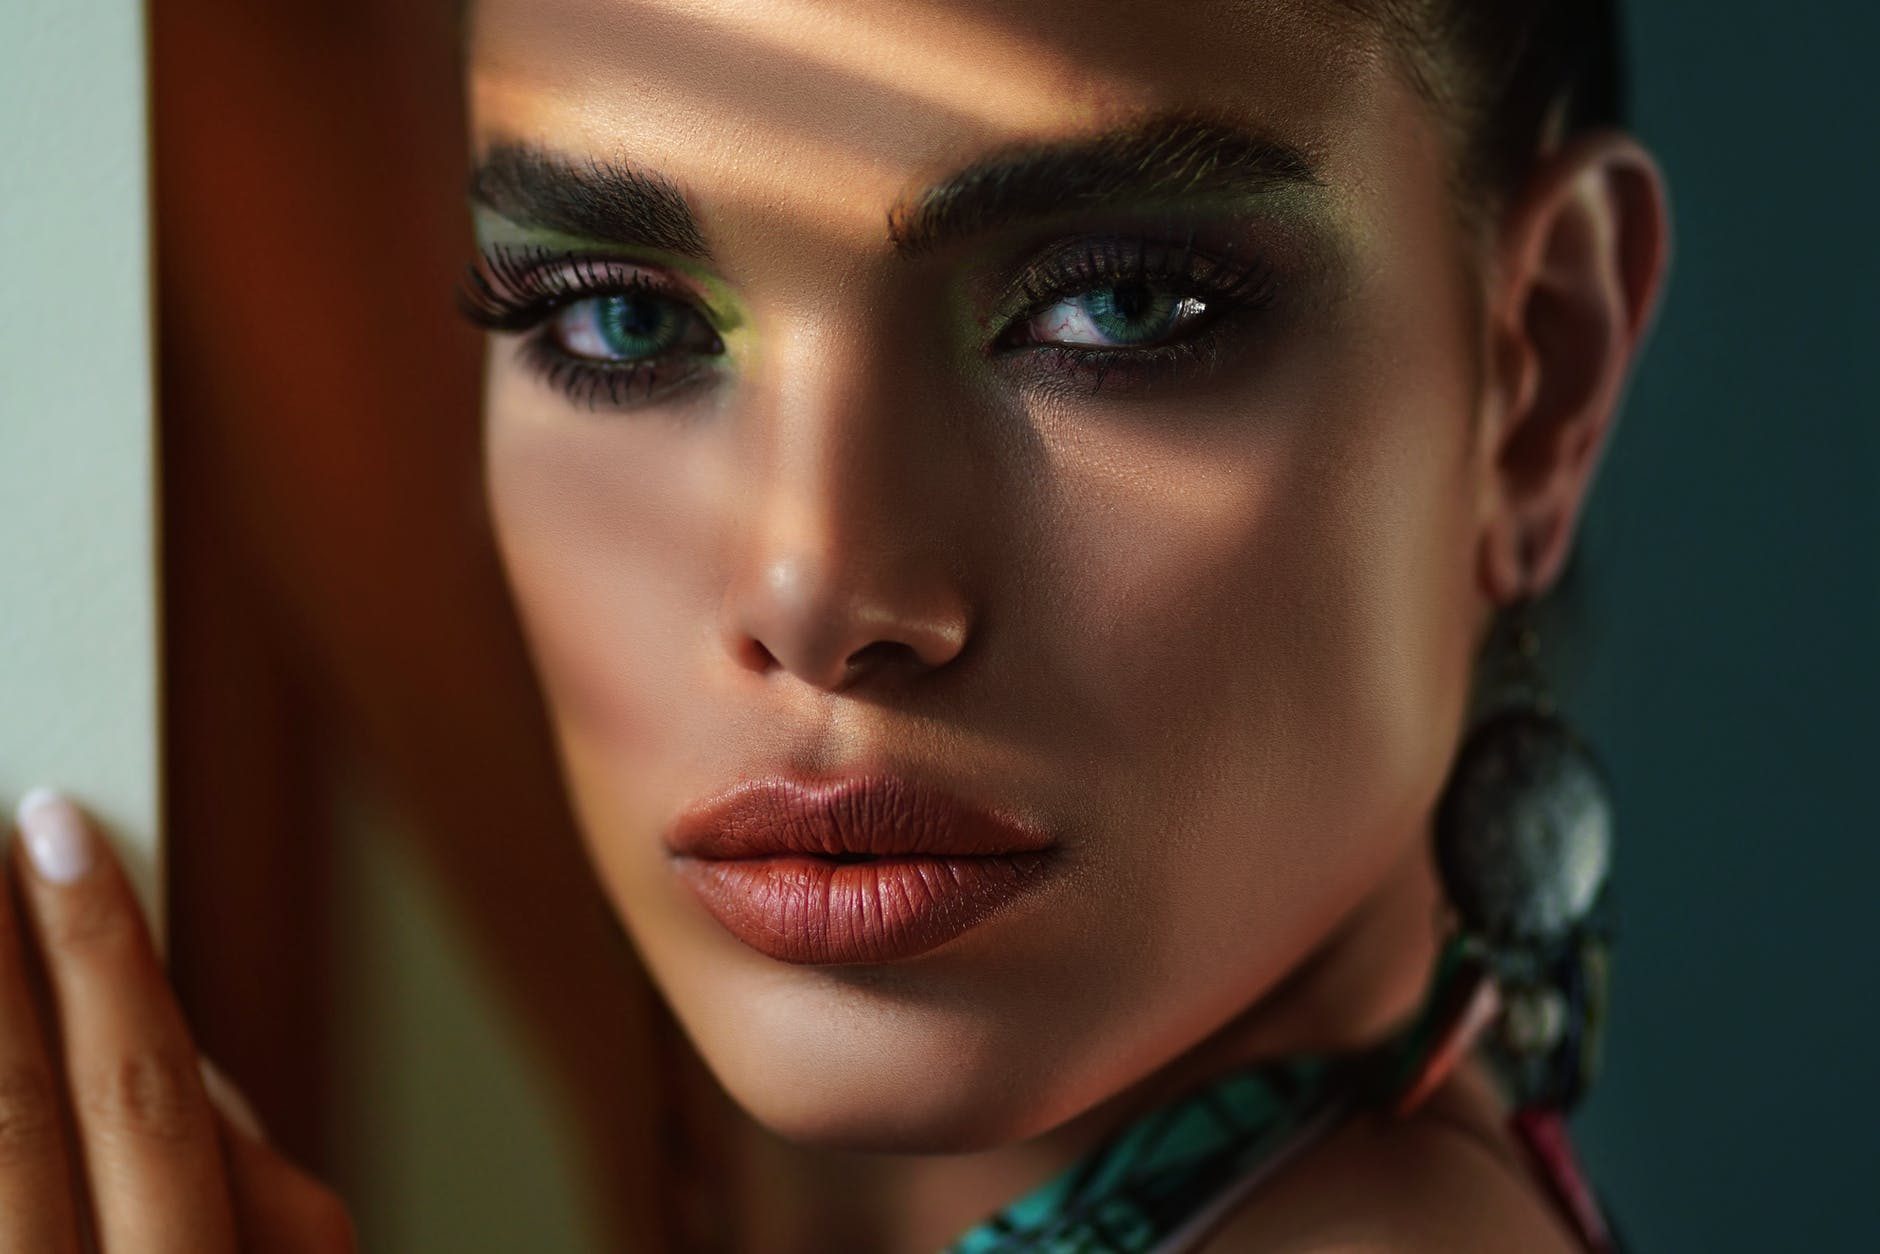
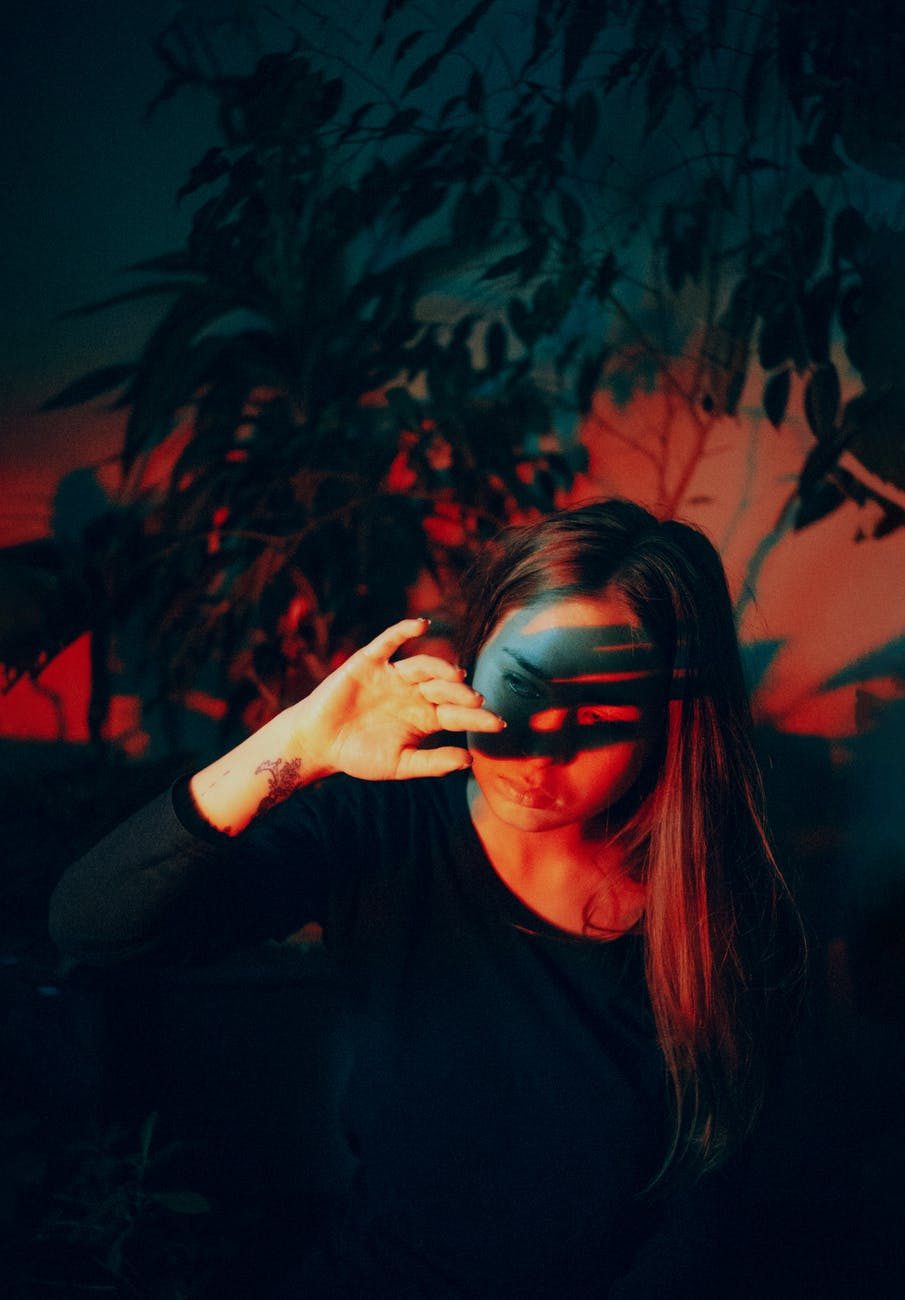
Hard light creates crisp, hard shadows on the subject that you’re shooting. This type of lighting comes from a comparatively small, direct light source. Fresnel lights and individual light bulbs are often used to create hard, direct light in certain environments.
For more dramatic or creative compositions, a setup that uses hard lighting can work well.
Flat Light

Flat lighting produces images with much less contrast between the highlights and shadows in a scene. Photography that uses too much flat lighting can lead to undesired “2d” results.
Midday light is often described as flat; the videos and images taken at this time of day can lack the “punch” that many photographers look for. A common application of flat lighting is in some portrait photography. The forgiving nature of flat light means that blemishes and other facial features are less noticeable.
Broad Light

Another type of lighting that’s used in portrait photography is broad lighting. This approach lights a portion of the subject’s face more brightly, resulting in a broader face in the final image. While this effect isn’t desirable for everyone, people with particularly narrow faces can benefit from broad lighting.
This approach is also used to increase the available contrast for a wide variety of photography scenarios.
Short Light

When shooting with short light, the light source lights the side of the subject that is facing away from the camera. In portrait photography, this can emphasize the narrower side of the face while creating shadows on the broader side.
Short lighting is also used by photographers to increase the contrast in their images.
Split Light

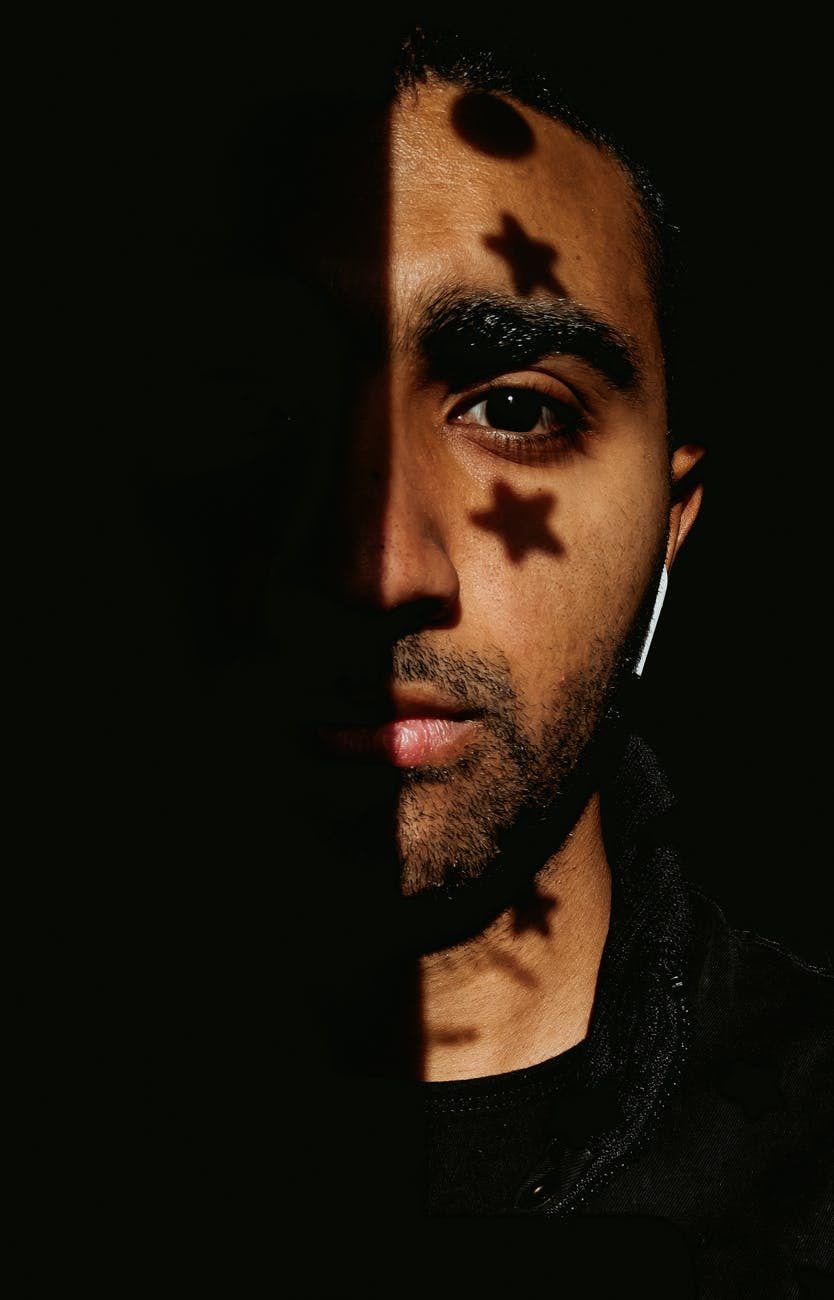
Split light involves lighting one side of your subject and leaving the other in shadow. Hence: ‘split’ lighting. For more dramatic shots, this approach can work very well. One side of a model’s face will be highlighted in vivid detail while the other is cast in mystery.
This setup is sometimes referred to as “old Hollywood” lighting, as it was common in earlier movie sets.
Side Lighting

Side lighting describes when your subject is lit from one specific side. Like with split lighting, your light source should be positioned to the side of the person or object you’re shooting. Try experimenting with this approach to photography.
It can add an artistic flair to your images and bring texture to an otherwise flat shot.
Rembrandt Lighting

This is a type of side lighting, or split lighting, named after the painter Rembrandt who used a particular lighting style in his paintings. Similar to the styles outlined above, one side of the subject is lit and the other is in shadow.
In Rembrandt lighting, the difference is that a triangle of light is used under the eye on the side of the face that is in shadow. This effect can add depth and texture to flat compositions.
Loop Lighting

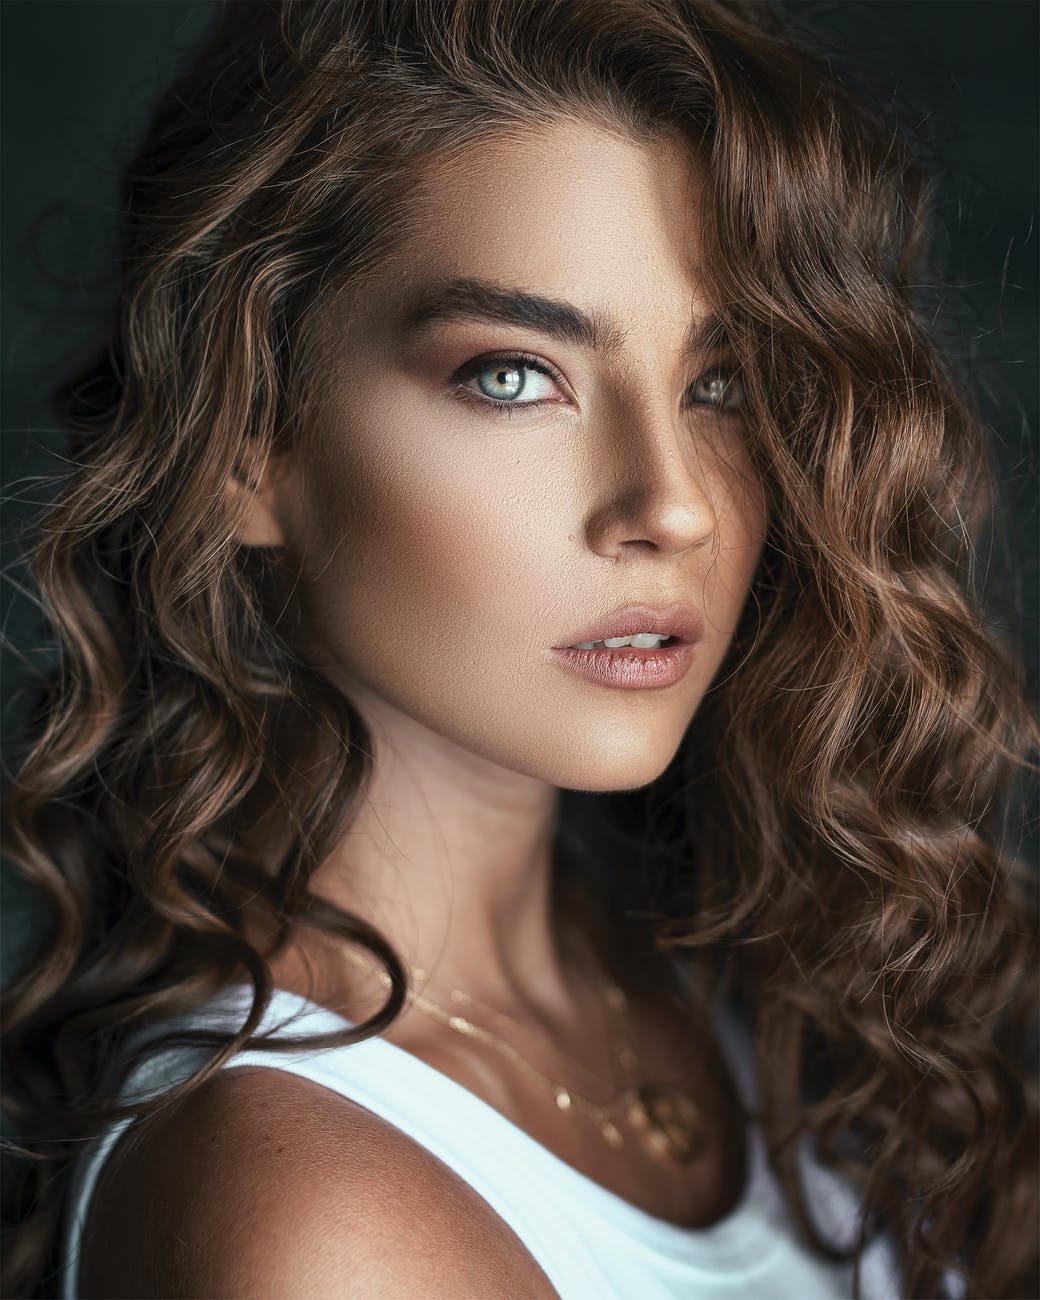
Loop lighting is a great way to achieve flattering shots of your models. An artificial light source is placed just to the side of your subject, pointing downwards. This emphasizes more flattering features and bone structures while softening less “desirable” characteristics.
When setting up your shot, experiment by moving around your light source and paying attention to how this changes your model’s appearance. You may have to readjust each time if you’re working with multiple people.
Butterfly Light

The name for this light comes from the shadow that is cast under the nose of subjects when it’s used. With butterfly light, the key light is centred directly above your subject. This approach is often used when shooting women, as it highlights prominent cheekbones.
One thing worth mentioning is that this approach can also emphasize shadows under the eyes. Good portrait photography takes the unique look of each model into account and adapts accordingly.
Natural Light
As the name suggests, this lighting doesn’t use artificial lighting of any kind. Sunlight and, less typically, moonlight can be used to produce stunning shots if you know what you’re doing.
Depending on how you position your gear and subject, natural light can be used to achieve many of the lighting effects we’ve described above.
In photography, the “golden hour” is described by photographers as the time in the day where natural light is at its best. Cinematographers in particular love this time of day for filmmaking. The golden hour is the small time in the day after sunrise but before sunset.
Artificial Lighting
Artificial light comes in many shapes and sizes. Photographers use a broad range of different light sources to achieve different effects for their images. The type of light needed will determine the artificial light source used.
While photographers using natural light are far less able to control the quality of the light they’re using, artificial lighting gives users almost complete control over their shoot.
Light and Digital Photography – The Equipment You’ll Need
Knowing the different types of lighting in photography is half the battle. You also need to know how to achieve them. There is a plethora of different accessory options when it comes to photography lighting. We discuss the basics below.
Studio Lights
Picking up some decent studio lights is well worth the investment if you’re serious about your shooting. They allow you to establish the perfect conditions for each and every shoot. If you’re just starting out, a standard soft-box pair will be more than enough for most shoots.
Once you start developing specific demands, individual, specialized lights are worth considering.
External Flash
While not essential for every shoot, an external flash can be just what you need in certain situations. For shoots where you need to eliminate shadows or compensate for low light conditions, a good flash can be a godsend.
Add an Umbrella
Using a flash umbrella when shooting will diffuse the light from your flash for a softer, less harsh result. Larger umbrellas lead to a softer photo and smaller umbrellas still retain some sharp lines and shadows in certain contexts.
Light Stand
A decent, adjustable stand is essential for any light you pick up. A good stand will make it easy to change the height, angle and general position of your light. These stands can also be used to support external flash accessories, another key tool in the photographer’s arsenal.
Reflectors
Reflectors are a common lighting accessory used by most photographers worth their salt. They bounce, or reflect, light to where you need it to be. They usually come in the form of a collapsable disc that can fold away for easy storage.
The most common colors are gold, silver, white and black for different degrees of light absorption and reflection.
Tripod
Any composition you plan for your image should take both lighting and movement into account. The best lighting equipment in the world will be useless if your image is ruined by a shakey camera.
A sturdy, adjustable tripod is a must for all types of photography and is well worth picking up if you’re a beginner. Look for models that allow you to quickly change the height and angle of your camera.
Lighting Basics
This section will run through the absolute fundamentals of how to tweak your camera in different lighting situations
Natural Lighting
When taking photos in non-artificial light, it’s important to remember that you’re at the whim of the elements. You can do a little to control the direction of sunlight using reflectors but ultimately, you have to adapt to your situation.
As a general rule, a wider aperture, slower shutter speed and higher ISO setting are a good idea when shooting in non-artificial light. This will give you the flexibility you need to get the right shot.
Diffused or Reflected Light
It’s useful to know what effect to anticipate when working with reflected light, as opposed to direct light. With reflected light, a softer result is what you should expect for your images. Any flat surface can, in theory, be used as a reflector, but the purpose-built ones work best.
Remember that the color of the reflector you use will influence the color of the lighting in your shot. When using this kind of light, a process of trial and error will be required to get things perfect. Get used to experimenting for a while to get your setup ready.
Direct Lighting
Any light that is pointed directly at your subject is direct lighting. Understanding when to use a direct light source is important. When used correctly, it can eliminate shadows or bring focus to the right part of your image. When used gratuitously, it can blow out your shot or overshadow parts of your photo.
Final Thoughts
Practice makes perfect; spending time experimenting with these lighting setups is the best way to master them. Trial and error is the name of the game here. At first, you’ll feel like you’re tweaking your positions endlessly before you’re even ready to take your picture.
Over time, you’ll soon develop the intuition needed to get things perfect quickly. Remember that Rome wasn’t built in a day. Start with direct, front lighting and slowly move your way up to a more obscure type of side lighting like Rembrandt lighting.
Pay attention to how each approach can transform your subject and you’ll be a master photographer in no time!